Batik Painting Coasters
The weather is warming up, and the sun has been out all week -- it's making me feel extra productive. If you're like me, you're itching for some new projects right now! My friend Roxanne sent me something she worked on recently and I just had to share. I present to you the Batik Painting Coaster: it's easy and it'll look so fun on your coffee table! Roxanne used 6" Mini Batik Packets and Cotton Batik to make these coasters. We sell these mini paintings in packets of 9 -- enough for a full set. We also sell them individually as "seconds". The step-by-step tutorial is posted below.

Tutorial
For each coaster, you will need:
1 - 6" Batik Painting, cut to 5.5" x 5.5" square
Batting, cut to 5.5" x 5.5" square
5 - 5.5" x 5.5" squares of Cotton Batik
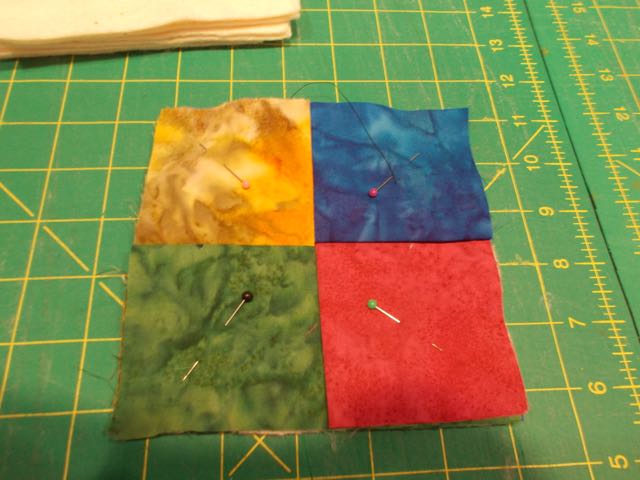
1. Layer the Batik Painting, batting, and 1 of the 5.5" squares of Cotton Batik. The front of the Batik Painting should be face up. Pin these layers together in that order.
2. Fold 4 of the 5.5" squares of Cotton Batik and iron, forming a crease as shown below (right):

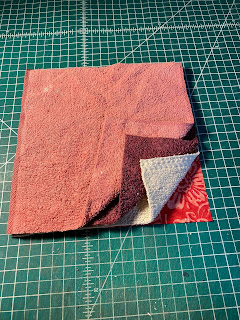
3. Overlap the 4 - folded 5.5" Cotton Batik squares in a weaved pattern -- over, under (shown in the picture below). Place this weaved fabric above the pinned stack of fabric from the previous step.

4. Pin the weaved fabric square to the stack of the Batik Painting, batting, and Cotton Batik backing. The front of the painting should be face up. The layers are shown in the picture below.

5. Sew the edges of the square.

6. Cut each of the corners.

7. Trim each of the edges if there is an excess of fabric. This step is in preparation for turning the coaster right side out.

8. Turn the coaster right side out by pulling each flap over the corners, one at a time.

And here is the finished product:


Some other uses for these coasters...
Hold your wine glass in the folds!

Store your ID and credit card when you go out, and have your own coaster at the bar!

These are so much more than your typical coaster...

Comments
Post a Comment